목차
안녕하세요!! 요즘 GPT-4o의 등장으로 AI와의 음성대화가 관심을 모으고 있는데요. 오늘은 Deepgram이라는 AI기반 음성인식 플랫폼을 활용해서 언어 모델과 음성대화하는 프로그램을 살펴보겠습니다. Deepgram은 음성 텍스트 변환 및 텍스트 음성 변환 API를 제공하며, Langchain과 Groq을 통해 정확하고 빠르게 음성을 처리할 수 있습니다. 이 블로그에서는 Deepgram의 개요, 설치방법, 예제코드에 대해 알아보겠습니다.

"이 포스팅은 쿠팡 파트너스 활동의 일환으로, 이에 따른 일정액의 수수료를 제공받습니다."
Deepgram 이란?
Deepgram은 음성 인식 및 오디오 인텔리전스 API를 제공하는 AI 기반 음성 AI 플랫폼입니다. 이 플랫폼은 음성 텍스트 변환, 텍스트 음성 변환, 오디오 인텔리전스를 포함한 다양한 기능을 갖추고 있습니다.
- 음성 텍스트 변환 (Speech-to-Text): 빠르고 정확한 음성 인식 제공을 통해 텍스트의 가독성과 사용성을 향상시키고, 낮은 단어 오류율(WER)과 빠른 추론 속도 및 저렴한 가격을 제공
- 텍스트 음성 변환 (Text-to-Speech): 인간처럼 자연스러운 음성 합성이 가능한 실시간 AI 에이전트 및 고속 응용 프로그램으로 자연스러운 톤, 리듬, 감정 표현이 가능
- 오디오 인텔리전스 (Audio Intelligence): 대화 요약, 감정 분석, 의도 인식, 주제 감지를 통해 대화의 핵심을 정확히 포착하여 트렌드 분석과 실시간 개선을 지원하고, 발화자의 의도를 인식하여 고객 만족도를 향상시킵니다.
Deepgram은 아래 사이트에서 무료로 가입하실 수 있으며, 가입 시 200달러가 충전되어 음성 인식, 음성 텍스트 및 텍스트 음성 API 등의 기능을 충분히 경험하실 수 있습니다.
Deepgram Voice AI: Text to Speech + Speech to Text APIs | Deepgram
Power your apps with real-time speech-to-text and text-to-speech APIs powered by Deepgram's voice AI models. Low latency, high quality, and low cost that scales
deepgram.com
Deepgram 설치방법
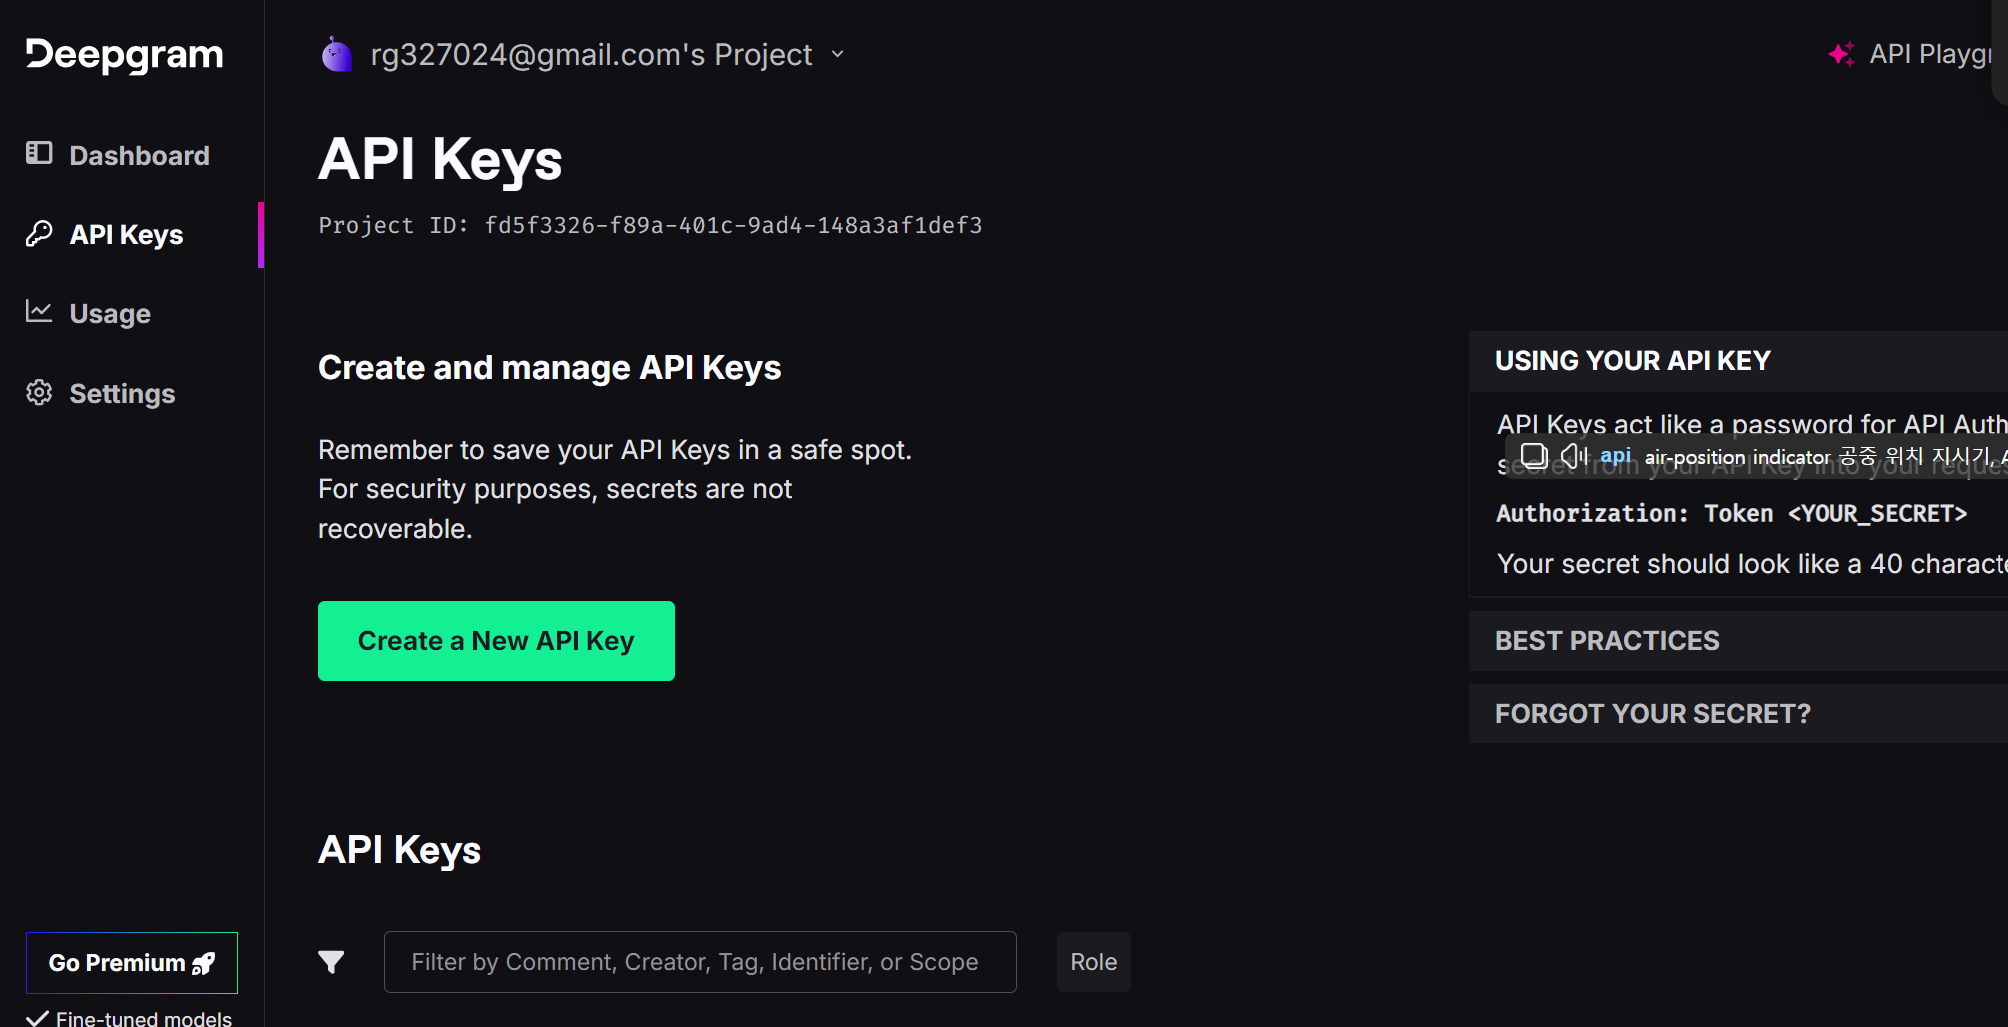
이 블로그의 실행환경은 Windows 11 Pro(23H2), 파이썬 버전 3.11, 코드 에디터는 비주얼 스튜디오 코드(이하 VSC)입니다. 먼저 아래 화면과 같이 Deepgram 사이트에 접속하여 API Key를 발급받습니다.
다음은 작업 디렉토리를 생성하고, .env 파일을 생성하여 아래와 같이 Groq과 Deepgram에서 본인이 발급받은 Key를 입력합니다. Groq API Key가 없는 분은 https://console.groq.com/keys에 접속해서 "Create API Key" 버튼을 클릭해서 무료로 새로운 API Key를 발급받으면 됩니다.
GROQ_API_KEY=발급받은 API Key
DEEPGRAM_API_KEY=발급받은 API Key
다음은 윈도우 명령프롬프트에서 "conda create -n deep python=3.11 -y" 명령으로 가상환경을 생성하고 "conda activate deep" 명령으로 활성화합니다. deep 가상환경 이름은 원하는 이름으로 수정할 수 있습니다.
conda create -n deep python=3.11
conda activate deep
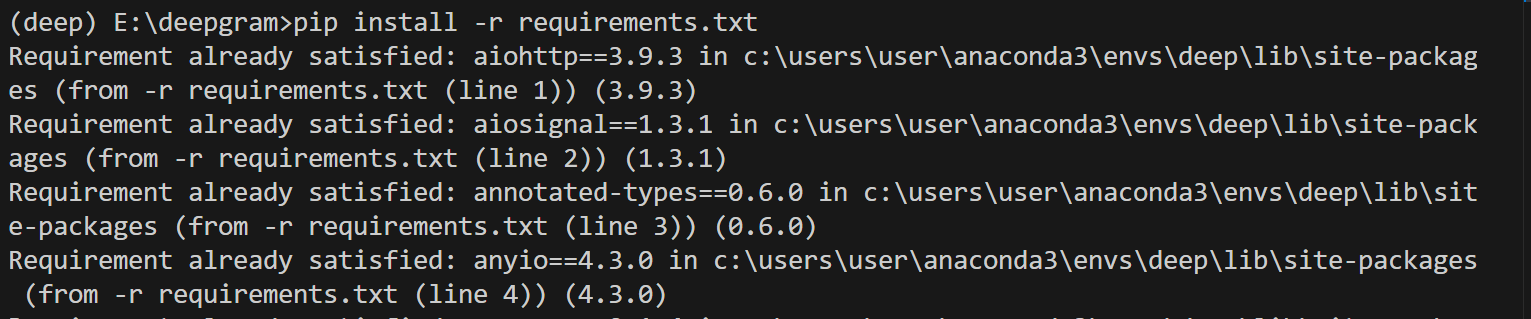
pip install -r requirements.txt
다음은 가상환경이 활성화된 상태에서 아래의 requirements.txt 파일을 다운로드하여 작업 디렉토리에 저장한 후, "pip install -r requirements.txt" 명령어를 통해 의존성을 설치해 줍니다.
의존성 설치가 완료되면, 다음은 아래 예제 코드를 복사하여 VSCode에서 새 파이썬 파일에 붙여 넣은 후 app.py 이름으로 저장합니다. 코드의 출처는 유튜브 "World’s Fastest Talking AI: Deepgram + Groq' 이며, "Good bye" 대화 종료 에러와 발화 종료 설정 변수 등을 수정하였습니다. 코드에 대한 간략한 설명은 다음과 같습니다.
이 코드는 사용자와 대화를 나누는 Llama3 70B 기반 대화 시스템으로 음성을 텍스트로 변환하고, 해당 텍스트에 기반하여 대화를 생성하며, 생성된 대화를 다시 음성으로 출력하는 프로그램입니다. 주요 구성 요소는 다음과 같습니다:
- LanguageModelProcessor 클래스: 이 클래스는 언어 모델을 처리하고, 입력된 텍스트에 대한 응답을 생성합니다. 이 예제에서는 Groq API를 사용하여 ChatGroq 클래스를 초기화하고, 입력된 텍스트를 이용하여 대화를 생성합니다.
- TextToSpeech 클래스: 이 클래스는 입력된 텍스트를 음성으로 변환하여 출력하는 역할을 합니다. Deepgram API를 사용하여 입력된 텍스트를 음성으로 변환하고, 이를 ffplay를 사용하여 스트리밍 합니다.
- TranscriptCollector 클래스: 이 클래스는 음성에서 추출된 텍스트 조각들을 수집하고, 완전한 문장을 구성하는 역할을 합니다.
- get_transcript 함수: 이 함수는 오디오 입력에서 텍스트를 추출하고, 추출된 텍스트 조각들을 합쳐서 완전한 문장을 생성합니다.
- ConversationManager 클래스: 이 클래스는 전체적인 대화 관리를 담당합니다. 사용자의 음성 입력을 텍스트로 변환하고, 언어 모델을 사용하여 대화를 생성하며, 생성된 대화를 다시 음성으로 출력합니다.
- 메인 코드: `__main__` 블록에서는 ConversationManager 인스턴스를 생성하고, `asyncio.run()`을 사용하여 비동기적으로 main 메소드를 실행합니다.
import asyncio
from dotenv import load_dotenv
import shutil
import subprocess
import requests
import time
import os

from langchain_core.prompts import ChatPromptTemplate
from langchain_groq import ChatGroq
from langchain_openai import ChatOpenAI
from langchain.memory import ConversationBufferMemory
from langchain.prompts import (
    ChatPromptTemplate,
    MessagesPlaceholder,
    SystemMessagePromptTemplate,
    HumanMessagePromptTemplate,
)
from langchain.chains import LLMChain

from deepgram import (
    DeepgramClient,
    DeepgramClientOptions,
    LiveTranscriptionEvents,
    LiveOptions,
    Microphone,
)

load_dotenv()

class LanguageModelProcessor:
    def __init__(self):
        self.llm = ChatGroq(temperature=0, model_name="llama3-70b-8192", groq_api_key=os.getenv("GROQ_API_KEY"))
        # self.llm = ChatOpenAI(temperature=0, model_name="gpt-4-0125-preview", openai_api_key=os.getenv("OPENAI_API_KEY"))
        # self.llm = ChatOpenAI(temperature=0, model_name="gpt-3.5-turbo-0125", openai_api_key=os.getenv("OPENAI_API_KEY"))

        self.memory = ConversationBufferMemory(memory_key="chat_history", return_messages=True)

        # Load the system prompt from a file
        with open('system_prompt.txt', 'r') as file:
            system_prompt = file.read().strip()

        self.prompt = ChatPromptTemplate.from_messages([
            SystemMessagePromptTemplate.from_template(system_prompt),
            MessagesPlaceholder(variable_name="chat_history"),
            HumanMessagePromptTemplate.from_template("{text}")
        ])

        self.conversation = LLMChain(
            llm=self.llm,
            prompt=self.prompt,
            memory=self.memory
        )

    def process(self, text):
        self.memory.chat_memory.add_user_message(text)  # Add user message to memory

        start_time = time.time()

        # Go get the response from the LLM
        response = self.conversation.invoke({"text": text})
        end_time = time.time()

        self.memory.chat_memory.add_ai_message(response['text'])  # Add AI response to memory

        elapsed_time = int((end_time - start_time) * 1000)
        print(f"LLM ({elapsed_time}ms): {response['text']}")
        return response['text']

class TextToSpeech:
    # Set your Deepgram API Key and desired voice model
    DG_API_KEY = os.getenv("DEEPGRAM_API_KEY")
    MODEL_NAME = "aura-asteria-en"  # Example model name, change as needed

    @staticmethod
    def is_installed(lib_name: str) -> bool:
        lib = shutil.which(lib_name)
        return lib is not None

    def speak(self, text):
        if not self.is_installed("ffplay"):
            raise ValueError("ffplay not found, necessary to stream audio.")

        DEEPGRAM_URL = f"https://api.deepgram.com/v1/speak?model={self.MODEL_NAME}&performance=some&encoding=linear16&sample_rate=16000"
        headers = {
            "Authorization": f"Token {self.DG_API_KEY}",
            "Content-Type": "application/json"
        }
        payload = {
            "text": text
        }

        player_command = ["ffplay", "-autoexit", "-", "-nodisp"]
        player_process = subprocess.Popen(
            player_command,
            stdin=subprocess.PIPE,
            stdout=subprocess.DEVNULL,
            stderr=subprocess.DEVNULL,
        )

        start_time = time.time()  # Record the time before sending the request
        first_byte_time = None  # Initialize a variable to store the time when the first byte is received

        with requests.post(DEEPGRAM_URL, stream=True, headers=headers, json=payload) as r:
            for chunk in r.iter_content(chunk_size=512):
                if chunk:
                    if first_byte_time is None:  # Check if this is the first chunk received
                        first_byte_time = time.time()  # Record the time when the first byte is received
                        ttfb = int((first_byte_time - start_time)*1000)  # Calculate the time to first byte
                        print(f"TTS Time to First Byte (TTFB): {ttfb}ms\n")
                    player_process.stdin.write(chunk)
                    player_process.stdin.flush()

        if player_process.stdin:
            player_process.stdin.close()
        player_process.wait()

class TranscriptCollector:
    def __init__(self):
        self.reset()

    def reset(self):
        self.transcript_parts = []

    def add_part(self, part):
        self.transcript_parts.append(part)

    def get_full_transcript(self):
        return ' '.join(self.transcript_parts)

transcript_collector = TranscriptCollector()

async def get_transcript(callback):
    transcription_complete = asyncio.Event()  # Event to signal transcription completion

    try:
        # example of setting up a client config. logging values: WARNING, VERBOSE, DEBUG, SPAM
        config = DeepgramClientOptions(options={"keepalive": "true"})
        deepgram: DeepgramClient = DeepgramClient("", config)

        dg_connection = deepgram.listen.asynclive.v("1")
        print ("Listening...")

        async def on_message(self, result, **kwargs):
            sentence = result.channel.alternatives[0].transcript

            if not result.speech_final:
                transcript_collector.add_part(sentence)
            else:
                # This is the final part of the current sentence
                transcript_collector.add_part(sentence)
                full_sentence = transcript_collector.get_full_transcript()
                # Check if the full_sentence is not empty before printing
                if len(full_sentence.strip()) > 0:
                    full_sentence = full_sentence.strip()
                    print(f"Human: {full_sentence}")
                    callback(full_sentence)  # Call the callback with the full_sentence
                    transcript_collector.reset()
                    transcription_complete.set()  # Signal to stop transcription and exit

        dg_connection.on(LiveTranscriptionEvents.Transcript, on_message)

        options = LiveOptions(
            model="nova-2",
            punctuate=True,
            language="en-US",
            encoding="linear16",
            channels=1,
            sample_rate=16000,
            endpointing=200,
            smart_format=True,
        )

        await dg_connection.start(options)

        # Open a microphone stream on the default input device
        microphone = Microphone(dg_connection.send)
        microphone.start()

        await transcription_complete.wait()  # Wait for the transcription to complete instead of looping indefinitely

        # Wait for the microphone to close
        microphone.finish()

        # Indicate that we've finished
        await dg_connection.finish()

    except Exception as e:
        print(f"Could not open socket: {e}")
        return

class ConversationManager:
    def __init__(self):
        self.transcription_response = ""
        self.llm = LanguageModelProcessor()

    async def main(self):
        def handle_full_sentence(full_sentence):
            self.transcription_response = full_sentence

        # Loop indefinitely until "goodbye" is detected
        while True:
            await get_transcript(handle_full_sentence)

            # Check for "goodbye" to exit the loop
            if "goodbye" in self.transcription_response.lower():
                break

            llm_response = self.llm.process(self.transcription_response)

            tts = TextToSpeech()
            tts.speak(llm_response)

            # Reset transcription_response for the next loop iteration
            self.transcription_response = ""

if __name__ == "__main__":
    asyncio.set_event_loop_policy(asyncio.WindowsSelectorEventLoopPolicy())
    manager = ConversationManager()
    asyncio.run(manager.main())
코드를 붙여 넣은 후, 아래의 시스템 프롬프트 내용이 들어있는 텍스트 파일을 다운로드하여 작업디렉토리에 저장합니다.
아래 링크는 Deepgram의 깃허브 레포지토리이며, SDK와 관련된 설명을 확인하실 수 있습니다.
https://github.com/deepgram/deepgram-python-sdk
GitHub - deepgram/deepgram-python-sdk: Official Python SDK for Deepgram's automated speech recognition APIs.
Official Python SDK for Deepgram's automated speech recognition APIs. - deepgram/deepgram-python-sdk
github.com
다음은 비디오, 오디오 및 기타 멀티미디어 파일 및 스트림을 처리하는 데 사용되는 오픈 소스 FFmpeg을 설치합니다.
winget install "FFmpeg (Essentials Build)"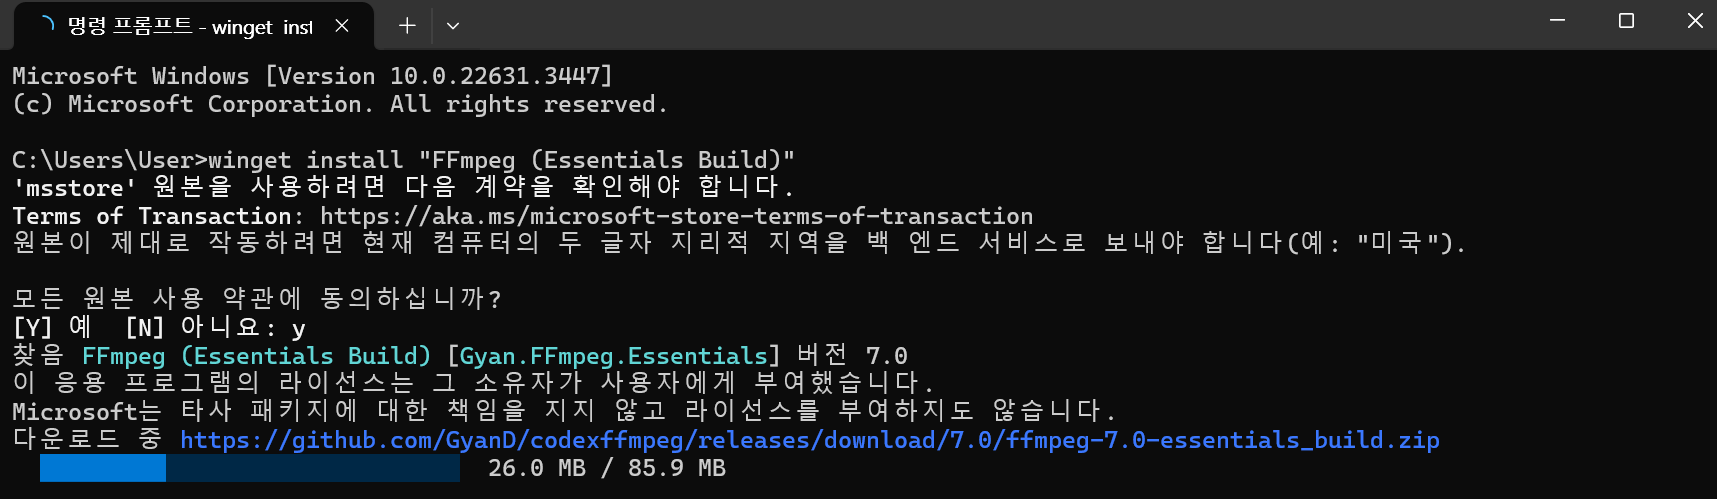
https://www.gyan.dev/ffmpeg/builds/
Builds - CODEX FFMPEG @ gyan.dev
FFmpeg is a widely-used cross-platform multimedia framework which can process almost all common and many uncommon media formats. It has over 1000 internal components to capture, decode, encode, modify, combine, stream media, and it can make use of dozens o
www.gyan.dev
실행결과
코드를 실행하면 아래화면과 같이 Listening... 표시가 나타나고, 마이크를 통해 사용자의 음성이 입력되면 화면에 텍스트로 표시되며, 언어 모델은 사용자의 요청에 적합한 대화를 생성하고 음성으로 변환하여 스피커로 들리게 됩니다. 언어 모델의 발화가 끝나면 다시 사용자의 음성 입력을 기다리는 상태가 됩니다.

아래 동영상은 코드실행 결과, 언어 모델과의 간단한 인사와 농담을 요청한 대화를 캡처한 동영상입니다. 언어 모델의 응답 지연시간은 3초 정도 되며, GPT-4o가 DEMO 영상에서 보여준 평균 320밀리 초에 비하면 느리지만, 이전 모델인 GPT-3.5의 평균 2.8초, GPT-4의 평균 5.4초와 비교하면 비슷한 수준을 보여줍니다.
|
|
| AI 언어모델과의 대화 동영상(1x속도, 무편집) |
맺음말
오늘은 음성인식 플랫폼 Deepgram을 활용한 AI 음성 대화 프로그램을 살펴보았습니다. Deepgram의 음성 텍스트 변환, 텍스트 음성 변환, 오디오 인텔리전스 기능은 높은 정확도와 빠른 처리 속도로 다양한 응용 프로그램에서 효과적으로 사용할 수 있습니다. 예제코드에서 AI와의 음성대화는 지연시간이 기대치보다 길어서 만족스러운 수준은 아니지만 앞으로 더 개선되기를 기대해 봅니다.
오늘 블로그 내용은 여기까지입니다. 여러분도 한번 AI와 간단한 대화를 나누어보시는 경험을 해보시면 좋을 것 같습니다. 저는 다음시간에 더 유익하고 흥미로운 주제로 찾아뵙겠습니다. 방문해 주셔서 감사합니다!

2024.05.17 - [AI 언어 모델] - GPT-4o: 자연스러운 음성 대화와 뛰어난 코딩 성능을 갖춘 멀티모달 언어 모델
GPT-4o: 자연스러운 음성 대화와 뛰어난 코딩 성능을 갖춘 멀티모달 언어 모델
안녕하세요! 오늘은 이번주 가장 큰 관심을 모으고 있는 OpenAI의 새로운 플래그십 언어모델 GPT-4o에 대해 알아보겠습니다. GPT-4o의 "o"는 "omni(모든 방식으로)"를 의미하며, 이는 텍스트 입력 외에도
fornewchallenge.tistory.com
'AI 도구' 카테고리의 다른 글
| 💻구글 Firebase Genkit: Ollama와 연동되는 쉽고 빠른 AI앱 개발 환경 (0) | 2024.05.25 |
|---|---|
| 🔎퍼플렉시카: 다양한 검색 엔진을 통합하는 AI 기반 메타 검색 엔진 (0) | 2024.05.24 |
| Answer Engine: AI 검색엔진, 퍼플렉시티를 내 컴퓨터에서 무료로 돌리자! (Next.js, Ollama, Serper 활용 가이드) (0) | 2024.05.19 |
| NVIDIA ChatRTX 2024. 5월 최신 업데이트: 설치 및 사용 후기 (0) | 2024.05.16 |
| Librechat: 온라인, 오프라인 AI 모델을 통합한 오픈소스 챗봇 플랫폼 (0) | 2024.05.15 |


